Lighthouse enables users to act on behalf of others, allowing them to view, edit, or submit actions where appropriate. It emphasises adherence to each organisation’s policies by all users. Additionally, Lighthouse tracks user actions in line with its accountability ethos, maintaining transparency throughout its system design.
Permissions
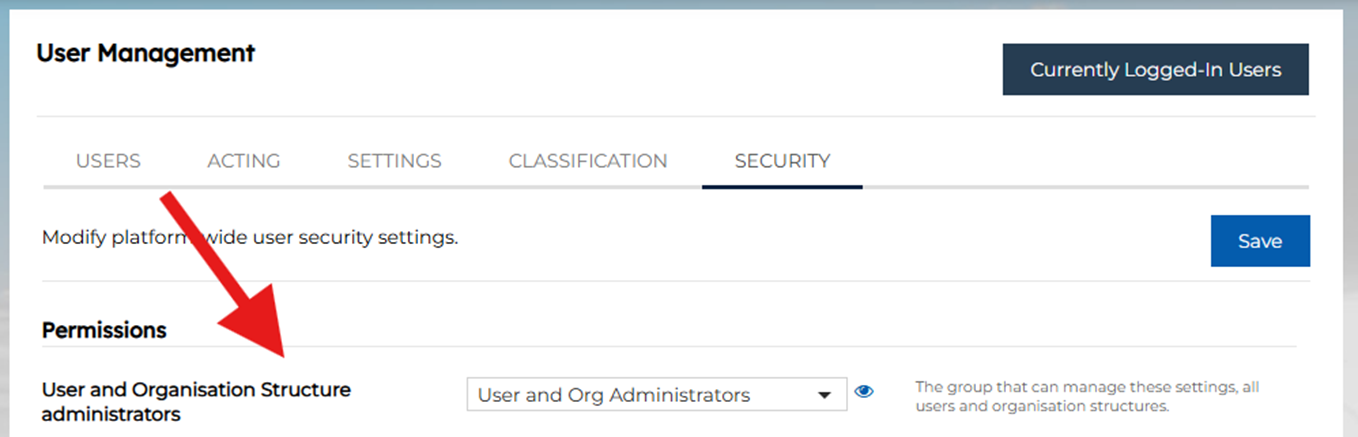
To set up an Actor and Act As relationship within Lighthouse, you will need to have the User and Org Unit Administrator permission. This is assigned in the Security Tab of the User Management Screen to a specific group.
Navigation
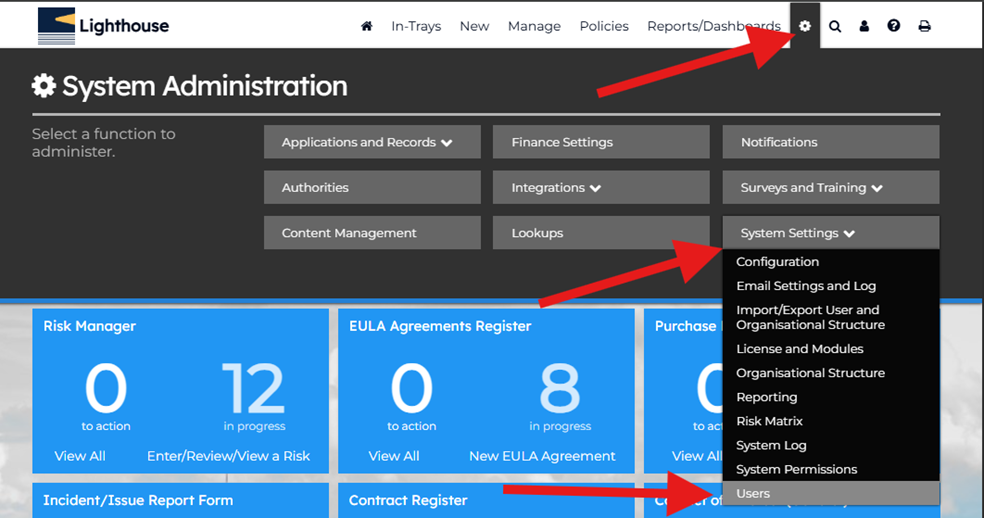
You can navigate to the Acting Tab via the User Management Screen. If you have customised your menu then you will want to look for the Users menu option, otherwise if you are using the default menu then you can get there via clicking the ‘cog’ then System Settings and then Users.
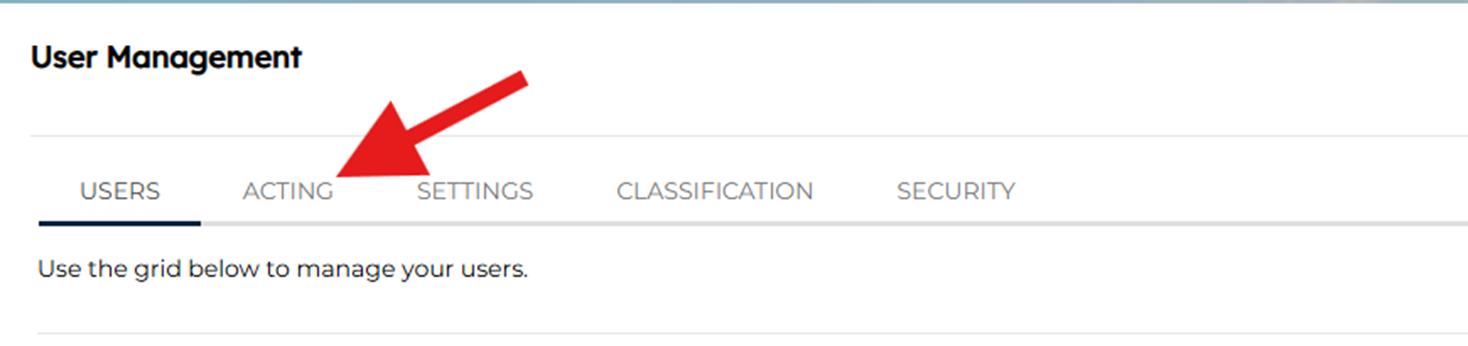
From the User Management Screen you can click on the Acting Tab;
From this screen you can manage any existing Acting and Act As relationship but for the intentions of this guide, we will start by creating a new relationship and go through managing one later in the guide.
Creating
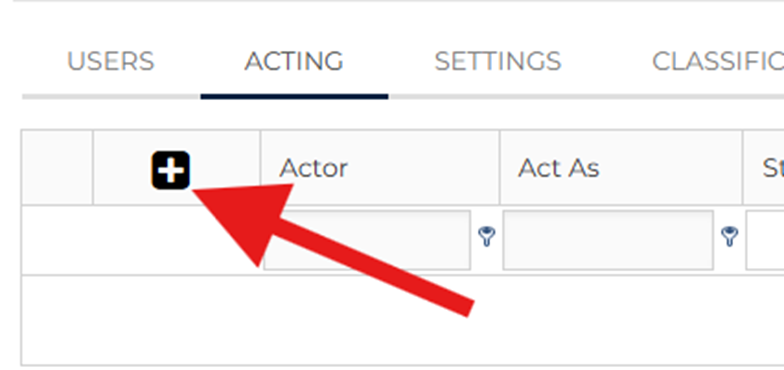
You can create a new relationship by clicking the [+] in the middle of the table if there is no existing relationship or by clicking the [+] in the top right corner next to the Actor column heading.
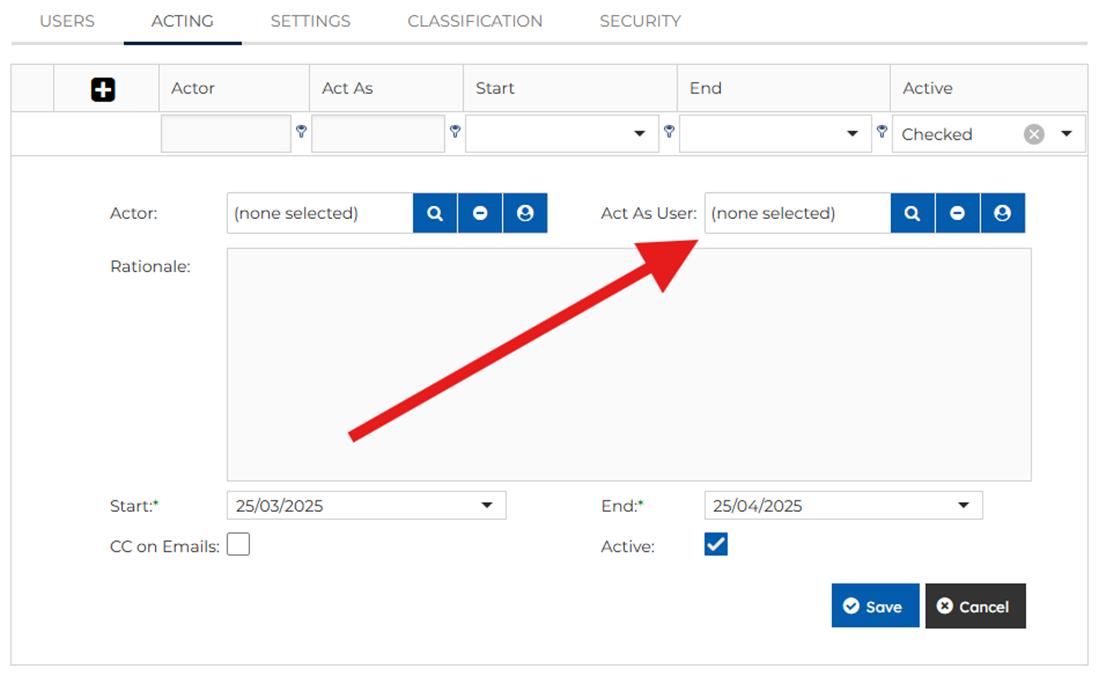
You will be first prompted to select who the Actor will be over the relationship. This will be the person who is acting on behalf of the next User we will configure. A real-life example of this might be an Executive Assistant.

You then will move on to the Act as User Selection field where you are selecting who the Actor will be acting as. In a real-life scenario, this might be the SES Officer that the previous EA will be acting on behalf of.
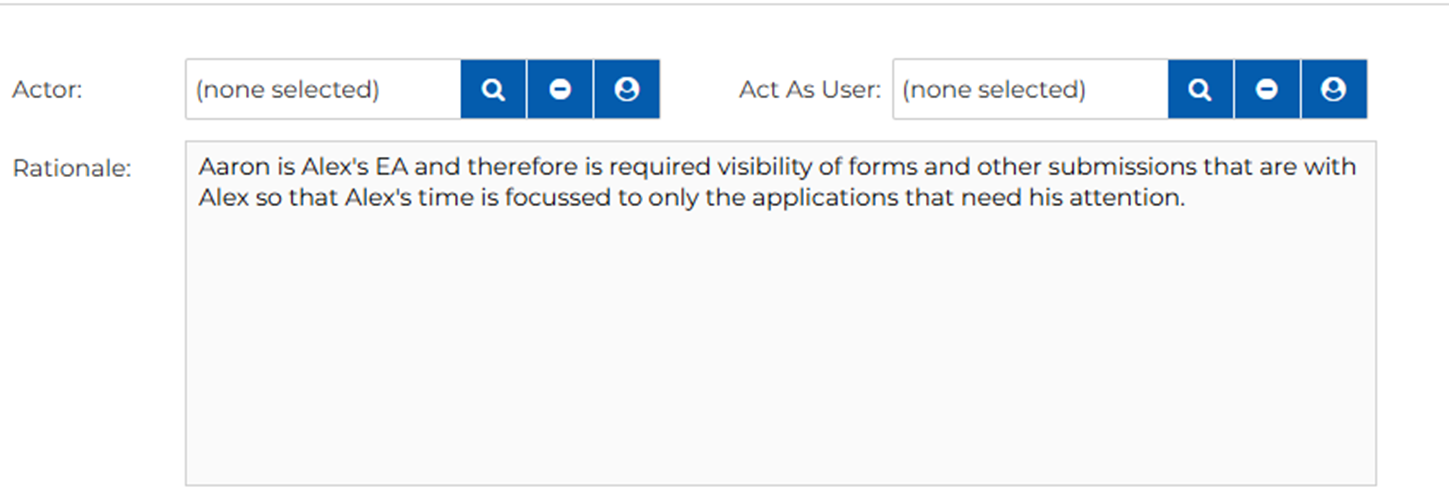
Next, it’s rationale time. You can input a rationale in the paragraph or text area input box. This should explain why the Actor is required to act on behalf of the other user. It’s encouraged to add as much information as it will provide the total context if another User and Org Administrator want to know why this relationship was established.
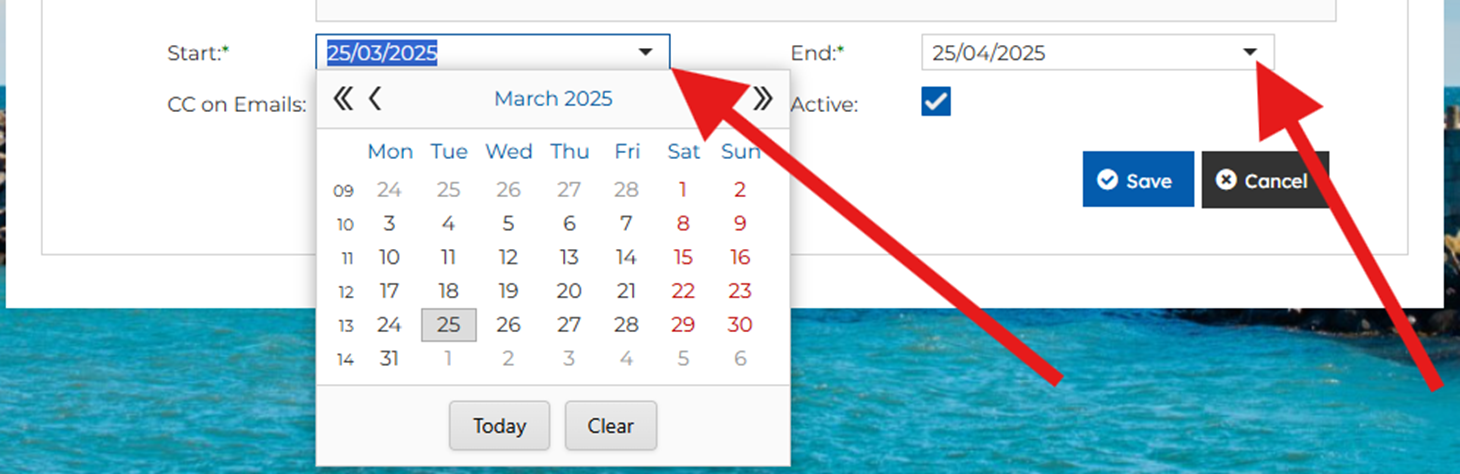
After establishing the rationale for the relationship, you can adjust its Start and End dates. By default, the Start Date is set to [Today’s Date], and the End Date defaults to the same date in the following month. This safeguard ensures the relationship is not left open-ended.
If you know how long the relationship is required, you can extend the End Date accordingly. We encourage applying Just-In-Time and Least-Privilege principles by selecting the earliest appropriate end date. This date can be extended later if needed, either by editing the relationship on this screen or through the “My Details” interface of the acting user.
To alter either the Start or End Date, you can click on the down arrow to the right of each field;
After selecting the date boundaries of the relationship, you have an advanced option of deciding whether you would like the Actor to also be CCed into all Lighthouse emails that are sent to the Act As User.

By default, the Active checkbox is selected but if you wish to not have the relationship Active now you can uncheck this but also consider the relationship won’t start even if it’s active until the Start Date you have selected.
Once you are happy you can click the blue Save button at the bottom of the Configuration screen;

At this point you have established the relationship and depending on the Active status and Start Dates you would have triggered an email notification, which will be sent to the Acting As to notify them that a new user can now act as them – Example below.

As changes are made, the Acting As user will be emailed of such changes as well as the initial creation of the relationship.
Managing
On the Acting Screen, you can utilise Lighthouse-styled Filter headers to find an existing Actor or Act As User, or perhaps you’d like to keep an eye on only the relationships that are greater than today. Or you can just have the Active Checked option filter. All of these are great options to find the relationship you are looking for or to just have an overview of the relationships that match your parameters to look out for.

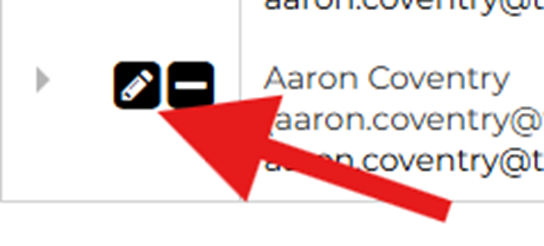
You can click the Edit Pencil next to a relationship that you’d like to manager;
From here, you can edit any of the details that have been covered in the Creating new guide above. This includes changing the Acting As User or the Actor User by clicking the Magnify Glass next to each field;

Or you can make adjustments to the Rationale by editing the Rationale box. If you’d like to change the Start or End Dates, you can do so by clicking the dropdown arrow next to each date;

Along with making changes directly to the checkboxes options such as CC on Emails and Active;

And any changes can be saved by clicking the blue save button on the bottom-right;

If you are looking to delete or end the relationship then you can attempt to remove it by clicking the minus (-) icon next to the relationship and if it can be deleted then Lighthouse will proceed with this. If the relationship has been used, then Lighthouse won’t delete the relationship but render it inactive by unticking the Active checkbox, this all occurs when you click the minus icon (-).
Auditing Actions and Behaviours
User and Org Unit Administrators can audit the behaviour of the Actor’s when they are acting as the user by click on the carat on the left of the Relationship, they’d like to audit.

By default, the System Log will be selected which will show you all of the System Log entries that were generated in relationship to the Actor as they began acting as the other user. The log will stop appearing here as when they have stopped acting as that user or ending the session. This table is simply an lens to zoom in on the System Log during those Acting As activities and all activities and log entries remain and can be seen through the System Settings > System Log.
If you are looking to find the direct Page Access that the Actor visited whilst acting, then you can click the Page Access tab to see the pages visited or accessed;

Acting As Functional to Control Actors
If you have another user with the ability to Act As you within a System. You have oversight of the relationship including the logs without requiring you to be a User and Org Administrator. Once a relationship has been established, you will see an additional section added to your My Details Page.
You can navigate to your My Details by clicking the User Silhouette Icon at the top right in the menu.
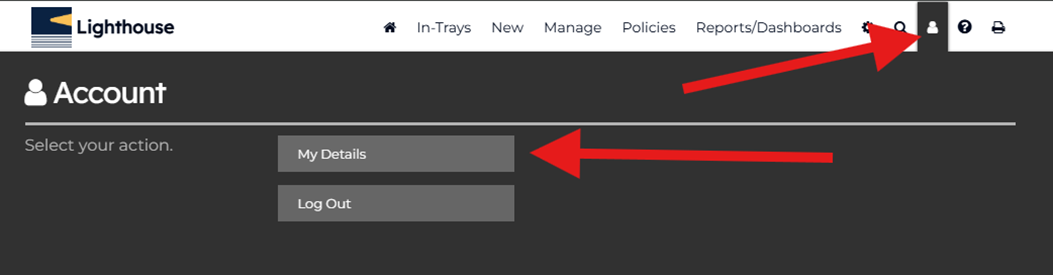
There will be a table under your Details such with the heading “Users Able to Act as Me”;

From here, User can manage their relationships which includes making them inactive, extending end dates or viewing the System Log and Page Access of the user who is acting as them.
How to Act as Another User
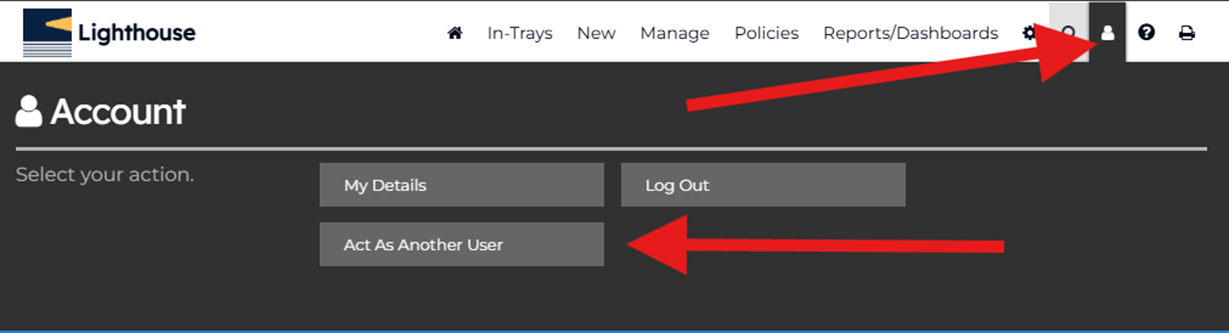
Alright, so a relationship has been established and all notifications have been sent and now a user needs to act as another user. They can do this by clicking on the User Silhouette Icon at the top right of the menu and if they have a relationship, they will have an extra button labelled “Act As Another User”;
After clicking the button they will be presented with a Popup to select which user they would like to be Acting As;
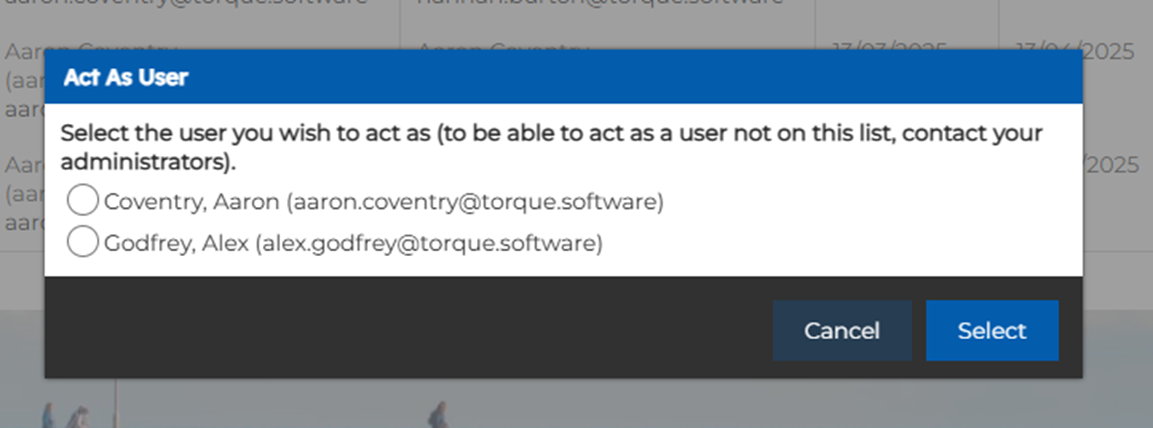
After selecting the User and then clicking the ‘Select’ blue button, they will have a maroon band added to the bottom of the screen advising them that they are now acting on behalf of the user. This will remain in place whilst the user is actively acting as the user within Lighthouse.