PURPOSE
The purpose of this guide is to understand “Authority” in Lighthouse and how it is created, utilized and configured.
WHAT IS AN AUTHORITY
An authority is an workflow, it defines the authorities users may exercise to action a workflow stage in Custom Forms.
When an authority is exercised by the authoriser, an outcome is recorded which either authorises or does not authorise the workflow step.
The form will be work-flowed for review to each authority selected. The workflow will be in the order of the Workflow step defined in the selected authorities.
Authorities also define the group of users who may be selected to exercise the authority.
HOW TO CREATE AN AUTHORITY?
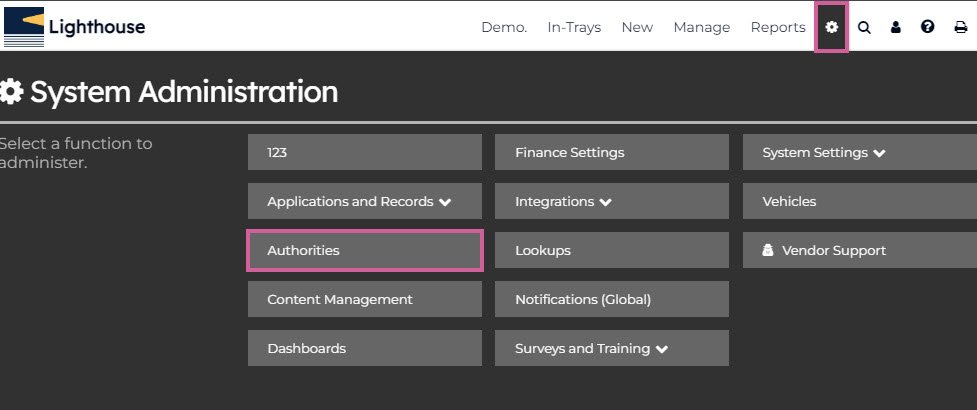
Step 1: Access Authority section from Administration area in Lighthouse.
Step 2: Create Authority
Step 3: Create Authoriser Questions (if needed)
Step 4: Adding user or group to the Authority.
INSTRUCTIONS
Step-1: Access Authorities
- Go to – System (cog) then Authorities.
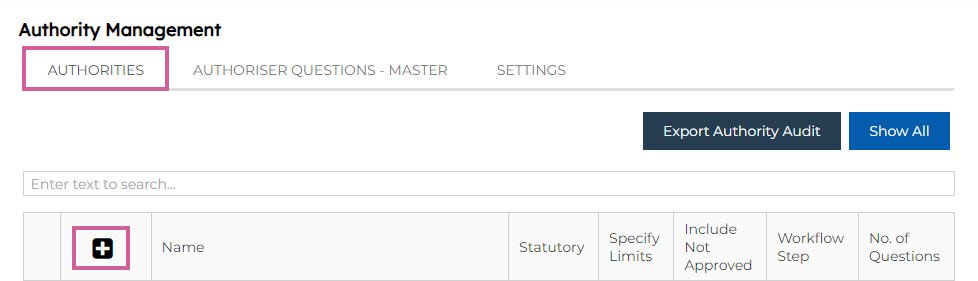
Step-2: Create Authorities
On the Authorities Tab click “+” to start creating a new one.
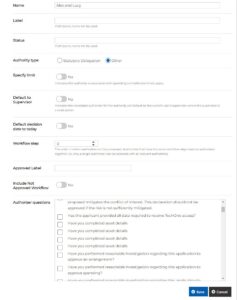
- 1 – Name – Name of the authority.
- 2 – Label – Label to be used for the authority in the workflow section of a custom form. If left blank the Name will be used.
- 3 – Status – Status to be displayed in the orient section when the authority is the current workflow step. If left blank, then “Pending Review” will be used.
- 4 – Authority type – An authority may be a statutory authority or another type of authority which allows a user to perform a workflow action.
- 5 – Specify limit – Indicates the authority is restricted by spending limits and the spending limits will be specified.
- 6 – Default to supervisor – The proposed authoriser will default to the current user’s supervisor if this is a valid option.
- 7 – Can edit document – Sets if the authoriser has permission to edit the document prior to exercising their authority.
- 8 – Workflow step – When more than one authority is required, indicates the order the authorities will be work flowed.
- 9 – Authorised Label – The label used for the outcome option where the workflow step is authorised. E.g. “Approved”, “Accepted” etc.
- 10 – Not Authorised Label – The label used for the outcome option where the workflow step is not authorised. E.g. “Not Approved”, “Rejected” etc.
- 11 – Authoriser Questions – The questions the authoriser must answer when exercising their authority, if required. Selected from the Authority Question Master list.
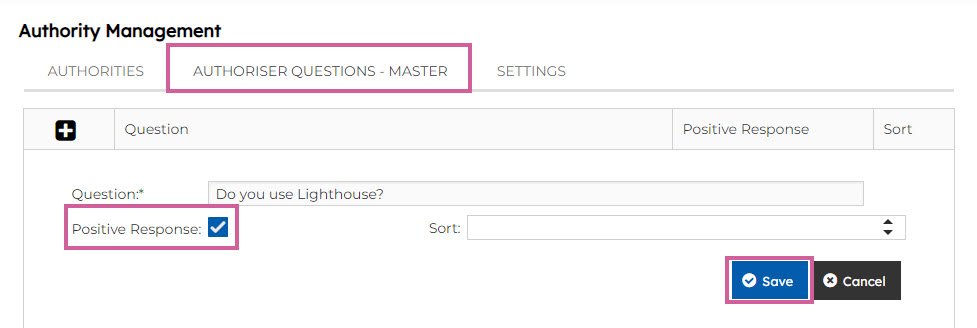
Step-3: Create Authorisers Questions (optional)
- Go to Authoriser Questions – Master
- Create questions by clicking to the “+” sign.
- Select the Positive Response Yes
Step-4: Adding Users or Groups to Authority
Candidate Group – The group containing the users and/or groups who are candidates for selection to exercise the authority.
Back in the Authorities tab, search for the name of the authority and click the arrow on the left of that authority.
Click the “+” sign to add a group.
Note: the users in these groups will not necessarily have the required authority. Being a member of the group only allows the user to be selected. The user making the selection and the selected user must ensure the selected user has the required authority.
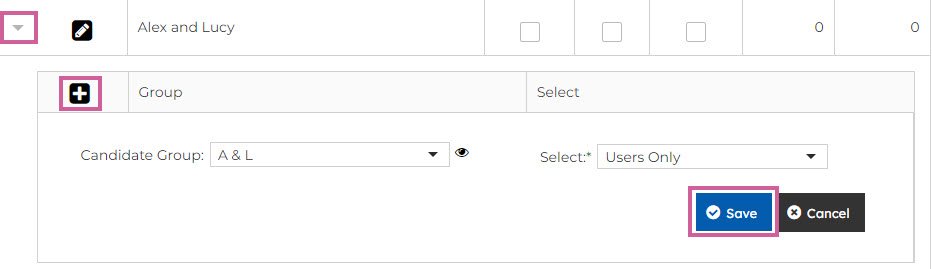
- Candidate Group – Select a group by typing part of the group name into the Group.
- Max Threshold – The maximum amount than can be approved when limits are specified. Note: this field is only available when limits are specified.
- Unlimited – Indicates the maximum amount than can be approved is unlimited. Note: this field is only available when limits are specified.
- Select – Indicates whether a group and/or a user may be selected to exercise the authority. Options are;
Users Only – Only a user from the candidate group may be selected.
Groups Only – Only a group contained in the candidate group may be selected. In this case, all members of the group will be able to access the custom forms from their in-tray.
Users and Groups – A user of a group contained in the candidate group may be selected. If a group is selected to exercise the authority, all members of the group will be able to access the custom form from their in-tray.
If you have any issues navigating how to create an authority, feel free to contact us at helpdesk@lighthousegrc.software