This guide walks you step-by-step through creating a custom report and assigning it as the in-tray for a module using the Custom Module Reporting Dataset. Using a tailored report as the In-Tray view for a module allows users to see exactly the records they need to focus on, filtered and presented based on your requirements. Here’s how to set it up:
Pre-Requisites
You’ll need to be in the Module Configuration Group to make changes to a Form such as the Custom In-Tray view.
Open Report Builder
-
Select the Custom Module Reporting Dataset from the list of available datasets.
-
This dataset provides access to all records and fields within your custom module(s), allowing granular control over what is displayed.
-
Create Your In-Tray Report
Now it’s time to build your report that will function as the In-Tray view.
-
Choose your filters: Use filtering criteria to restrict which records appear in the report. For example, you might want to show only records where the status is “Completed”
-
Select your Fields:
-
Choose the fields you want visible in the In-Tray view, such as ‘Status
-
-
Rename column headers (Optional):
-
Use the Manage Column Names functionality to rename fields for user-friendly display.
-
For instance, change “RecordOwner” to “Assigned Officer”.
-
-
Save the report
-
Give the report a meaningful name
-
Save the report.
-
Assign the Report as the Module’s In-Tray View
With the report created, now assign it as the In-Tray view:
-
Go to the Custom Form’s Settings.
-
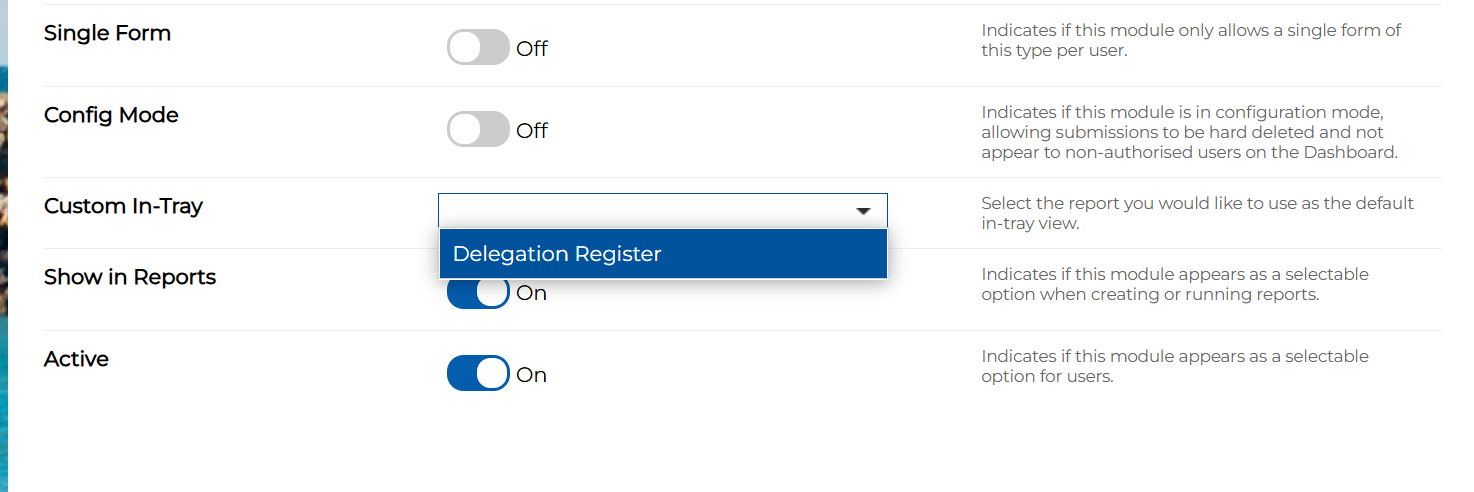
Scroll down to the Custom In-Tray Option
-
Select the report you just created from the list.
-
You can also use a previously created report if it suits your needs.
-
-
Save the module settings.
Revisit your Forms In-Tray to see the Custom In-Tray take effect.